
Canning them took a total of two hours. Peeling them was by far the most tedious part. I've put this on my Amazon wish list - the next time I'm looking to push my purchase over $25, I may just invest.* Roxy was happy to pick up any pieces that made it to the floor.

I followed the recipe in my Ball's Complete Guide to Home Preserving cookbook but they also published it online (see the link). I've mentioned before that I take a lot of liberties with recipes and use them more as guidelines. This is NOT true with canning. Unless you really know what you are doing, you need to follow recipes exactly (particularly the ratio of lemon juice or vinegar). Botulism is not something to mess around with.


I got enough to make five pints and to have a bit of applesauce with my tea.

Canning is not hard, here is what you need:
1. Canning jars. I've stuck with ball regular mouth (you can get wide mouth jars as well). You can reuse the jars and the rings but make sure to use a new lid every time. Conveniently, Ball sells the lids separately.

2. A large pot. You can get a designated canner, but as long as there is enough room to completely submerge the jars you can use any old pot. I bought mine for $2 at an estate sale.

3. Jar lifter, magnetic lifter, jar funnel. These are specifically designed for canning. The jar lifter helps you put the jars in/take them out of boiling water. The funnel makes it easier to fill your jars. The magnetic lifter makes it easy to get your lids out of the simmering water. A chopstick is helpful as well to release air bubbles.

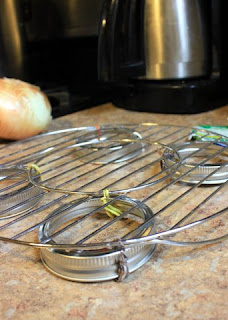
4. A canning rack. This just needs to lift the jars up off the bottom of the pot so water can circulate under them. You can buy a rack specifically designed for this. Kevin rigged this up for me with what we already had.
As for how to can, there are a lot of good resources. This blog post lays it out step by step. There are a lot of steps so it can be overwhelming, but none of them are particularly hard or time consuming. If you have lots of apples like we do (the apples I canned got replaced the next week through our CSA) it is a good way to preserve them for the winter. We also have a lot of pears, I have a feeling pear sauce may be next for me.
No comments:
Post a Comment